Adding a hitch mount cargo carrier to your vehicle is one of the easiest and most effective ways to gain extra storage space for road trips, camping, or any situation where your trunk just won’t cut it. The good news? Installing one isn’t difficult—especially if you follow a few key steps and come prepared with the right tools.
In this guide, we’ll walk you through the installation process from start to finish, covering all the basics and offering some tips to make sure your carrier is secure, stable, and road-ready.
You can also check out any of our Mockins hitch mount cargo carriers, designed and manufactured by Mockins, a USA based company.
Step 1: Confirm Hitch Compatibility
Before you even unbox your carrier, verify the size and class of your hitch receiver. Most hitch cargo carriers are designed to fit a 2-inch Class III or IV receiver, which is standard on many SUVs, trucks, and larger crossovers. If your vehicle has a smaller 1.25-inch receiver (Class I or II), you’ll need a compatible hitch carrier or a hitch adapter (check weight ratings carefully if using one).
Check these specs:
- Receiver size (1.25" or 2")
-
Tongue weight capacity (the weight your hitch can support vertically—your carrier + cargo must stay below this limit)
Step 2: Assemble the Carrier (if Required)
Many hitch cargo carriers ship in sections and require minimal assembly. You’ll typically be attaching the cargo carrier platform to the shank—the square tube that slides into your vehicle’s hitch.
Tools you’ll likely need:
- Socket wrench or impact driver
- Adjustable wrench or ratchet
-
Torque wrench (recommended for final tightening)
Follow the manufacturer's instructions, paying close attention to torque specifications. Tighten bolts in a crisscross pattern to ensure even pressure if your carrier platform has multiple fasteners.
Step 3: Insert the Carrier into the Hitch Receiver
Once the cargo basket is assembled, slide the shank into the receiver hitch on your vehicle.
Installation tips:
- Align the holes in the shank and the receiver.
- Insert the hitch pin or bolt (usually included with your carrier).
-
Secure with the appropriate retaining clip or locking mechanism.
For added security, consider upgrading to a locking hitch pin to prevent theft.
Step 4: Stabilize with an Anti-Rattle Device
Even properly installed carriers can have some play or movement, especially at highway speeds. To eliminate wobble and noise, install an anti-rattle device—a clamp or sleeve that tightens the connection between the shank and the hitch.
There are several types:
- U-bolt style clamps
- Wedge-based stabilizers
-
Threaded hitch pins with tension nuts
Choose one that matches your hitch size and carrier design. Some cargo carriers include anti-rattle devices in the box; if not, they're widely available and well worth the investment.
Step 5: Load the Carrier and Secure Your Gear
With your hitch carrier installed, it's time to load it. This part isn’t just about tossing on luggage and strapping it down—you’ll want to balance the load properly to ensure safe handling and minimize stress on your hitch.
Loading best practices:
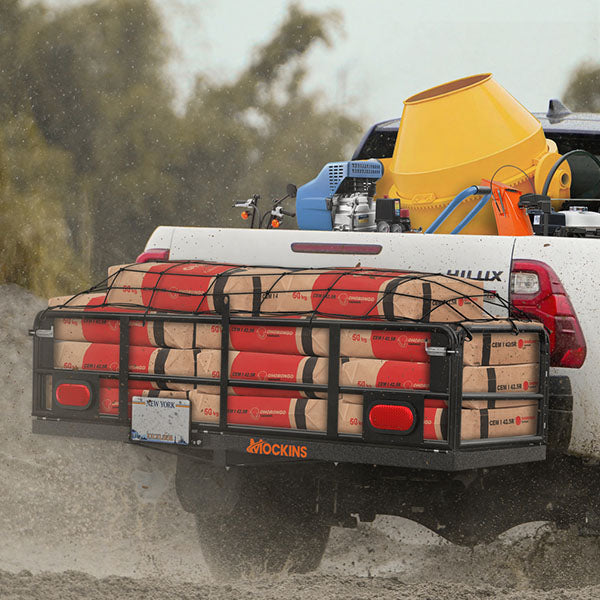
- Distribute weight evenly across the platform.
- Keep heavier items centered and close to the vehicle.
- Do not exceed the maximum weight capacity of either the carrier or your hitch (this includes the carrier's own weight).
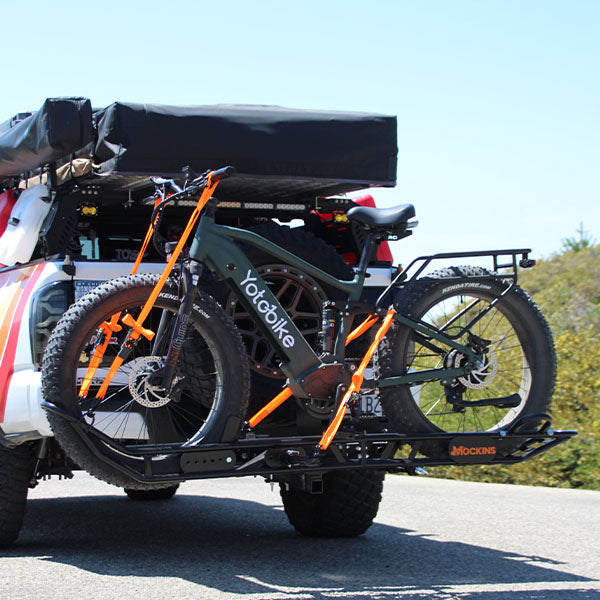
- Use ratchet straps, bungee cords, or a cargo net to secure everything tightly.
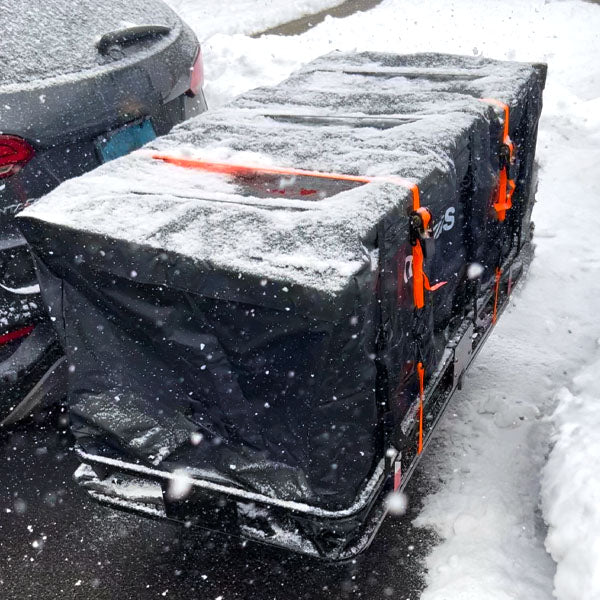
-
Consider a weatherproof cargo bag for extra protection from rain, dust, and road debris.
Step 6: Double-Check Before You Drive
Do a final walkaround before hitting the road. Confirm that:
- The hitch pin and clip are secure.
- All fasteners are tightened to spec.
- Straps are tight and not frayed.
- Nothing is blocking your tail lights or license plate.
-
The cargo is not shifting or hanging off the sides.
If you have a folding-style cargo hitch carrier, also confirm it is locked in the horizontal (load) position and not folded upright during use.
Optional: Add Accessories for Safety and Convenience
Depending on your needs, consider the following add-ons:
- Hitch tightener or stabilizer for extra stability
- Reflectors or LED light kits for visibility, especially on low-profile carriers
- Hitch riser if you need additional ground clearance
-
License plate relocation bracket, if your plate is blocked by the carrier
Final Thoughts
Installing a hitch cargo carrier is a simple, effective upgrade that can make travel easier, more organized, and more enjoyable. By following these steps, you’ll experience a safe and secure installation that won’t leave you second-guessing your setup mid-drive. Whether you're hauling camping gear, luggage, or that giant cooler you absolutely need for three days in the woods, a properly installed carrier means one less thing to worry about on the road.