We get it. That cargo hitch carrier looks sturdy enough to hold your cooler, toolbox, camping stove, two duffels, a fire pit, and maybe a small bear. But when it comes to weight limits, the line between “it held” and “it folded” is thinner than you think.
Let’s talk numbers, common mistakes, and how to pack smart so you don’t end up shedding gear on the interstate.
First: Know What You’re Working With
🚗 1. Your Vehicle’s Hitch Rating
This is the big one. Your hitch—specifically the receiver class—determines how much weight your vehicle can safely support behind it.
| Hitch Class | Receiver Size | Max Tongue Weight | Common Vehicles |
|---|---|---|---|
| Class I | 1.25" | ~200 lbs. | Small cars |
| Class II | 1.25" | ~350 lbs. | Sedans, small SUVs |
| Class III | 2" | ~500 lbs. | SUVs, trucks |
| Class IV+ | 2" or 2.5" | 500–1,200+ lbs. | Heavy-duty trucks |
Tongue weight: This is the amount of vertical weight your hitch can handle. It includes the weight of the carrier and everything loaded onto it.
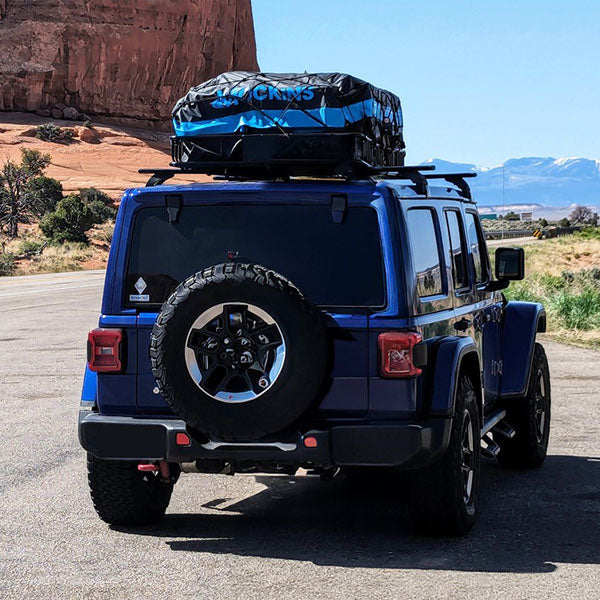
💼 2. Your Cargo Carrier’s Weight Limit
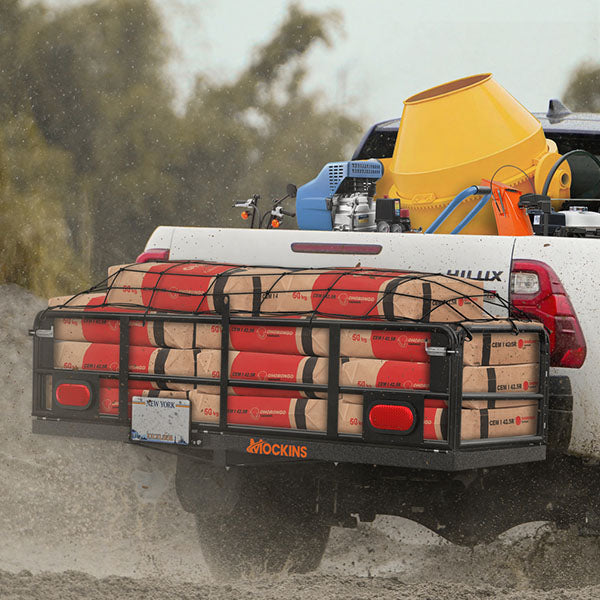
Mockins Hitch Carriers are built tough—they come in various dimensions, but all can support up to 500 lbs.:
- 48" x 20" Raised Hitch Carrier with 5" Rise
- 40" x 40" Square Hitch Cargo Carrier
- 72" x 36" Hitch Carrier with Rear Lights
And yes—this includes the weight of the bag, frame, and straps. Not just the gear.
Real Talk: Common Mistakes (a.k.a. How to Break Your Stuff)
❌ Ignoring the Vehicle Limit
Your hitch carrier might be rated for 500 lbs., but if your vehicle maxes out at 350, guess what? You’re stuck at 350.
❌ Forgetting the Carrier's Own Weight
A basic steel cargo basket like the Mockins 60" x 20" Carrier can weigh 50–70 lbs. on its own. That’s already eating into your limit.
❌ Poor Load Distribution
Shoving 400 lbs. on one side of your hitch platform = wobble, sag, and eventual regret.
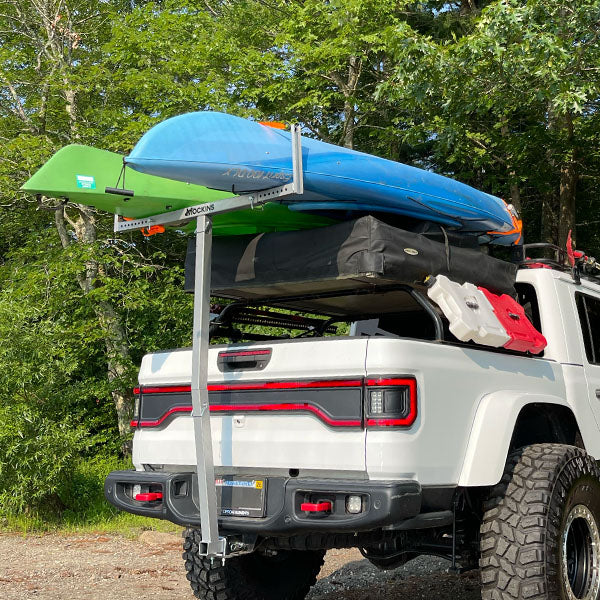
❌ Stacking Too High
Just because it fits doesn’t mean it’s safe. A tall, top-heavy load puts strain on your hitch and risks tipping (especially in turns or wind).
So How Do You Carry Smart?
✅ 1. Know Your Numbers
- Check your hitch class
- Read your vehicle’s tongue weight rating (usually in the owner’s manual or door jamb)
- Subtract the weight of the carrier itself
- What’s left? That’s your cargo limit
✅ 2. Pack Low & Centered
Distribute weight evenly and keep it as low to the ground as possible. Put heavier items closer to the hitch or vehicle frame. Lighter stuff can ride on the outer edges.
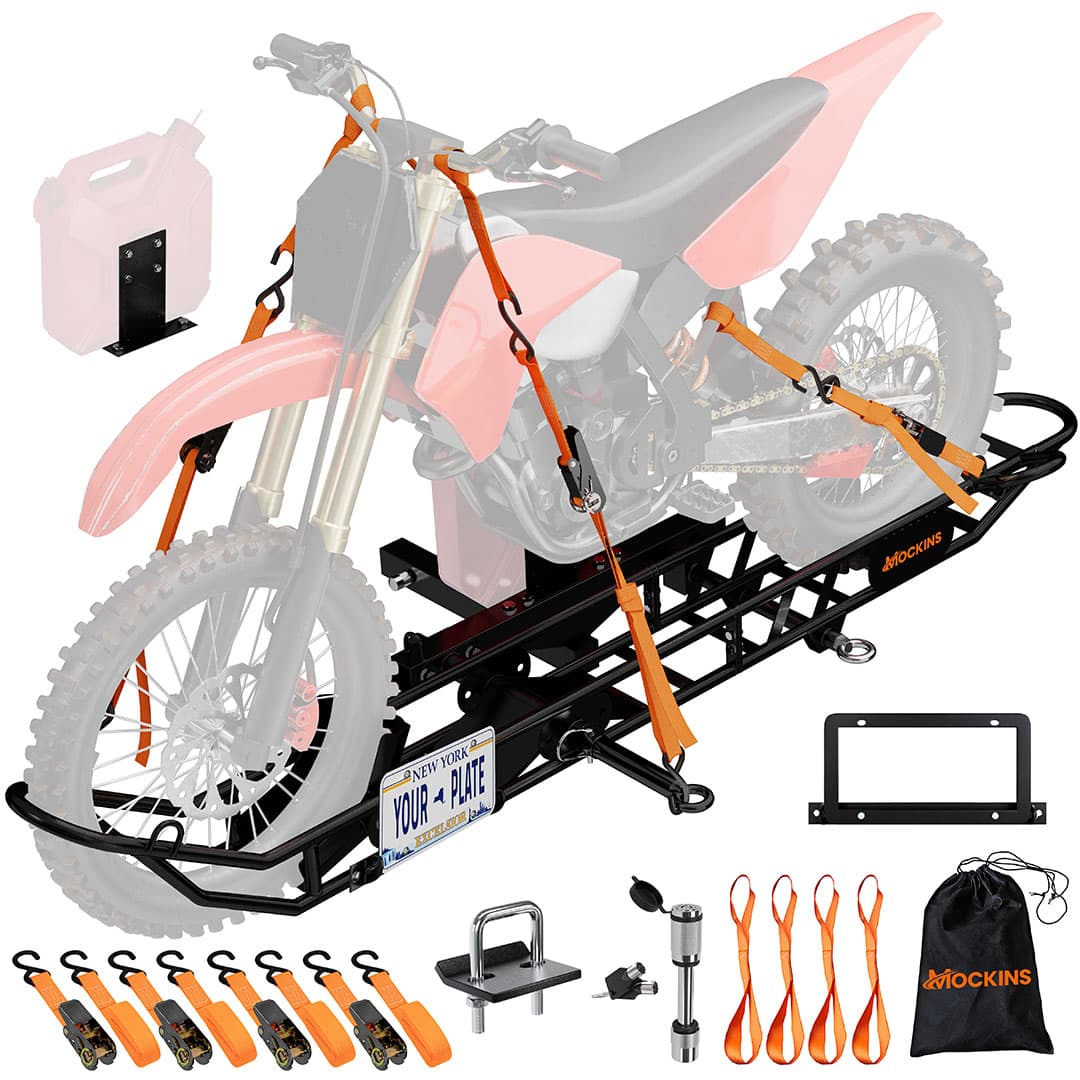
✅ 3. Use Tie-Downs Like a Pro
Don’t just wing it with bungees. Use real gear like Mockins heavy-duty ratchet straps or bungee cargo nets and an anti-wobble hitch stabilizer to keep your load secure and stable.
✅ 4. Do a Bounce Test
After loading, give the whole setup a good shake. If the rack wobbles, shifts, or sounds like a tambourine, re-strap and try again.
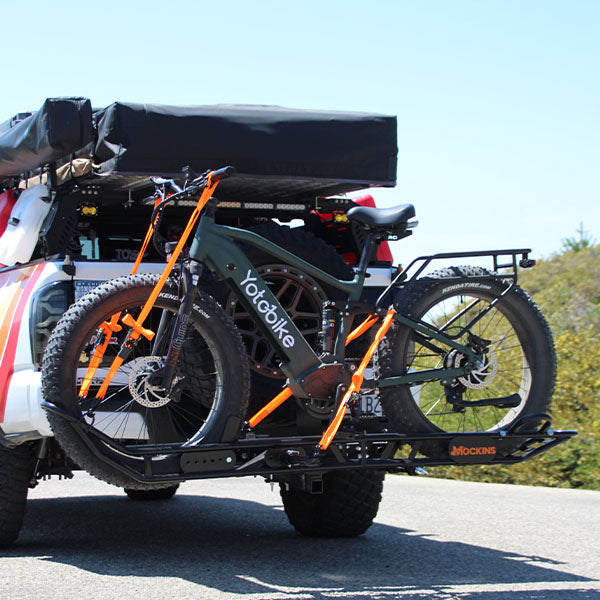
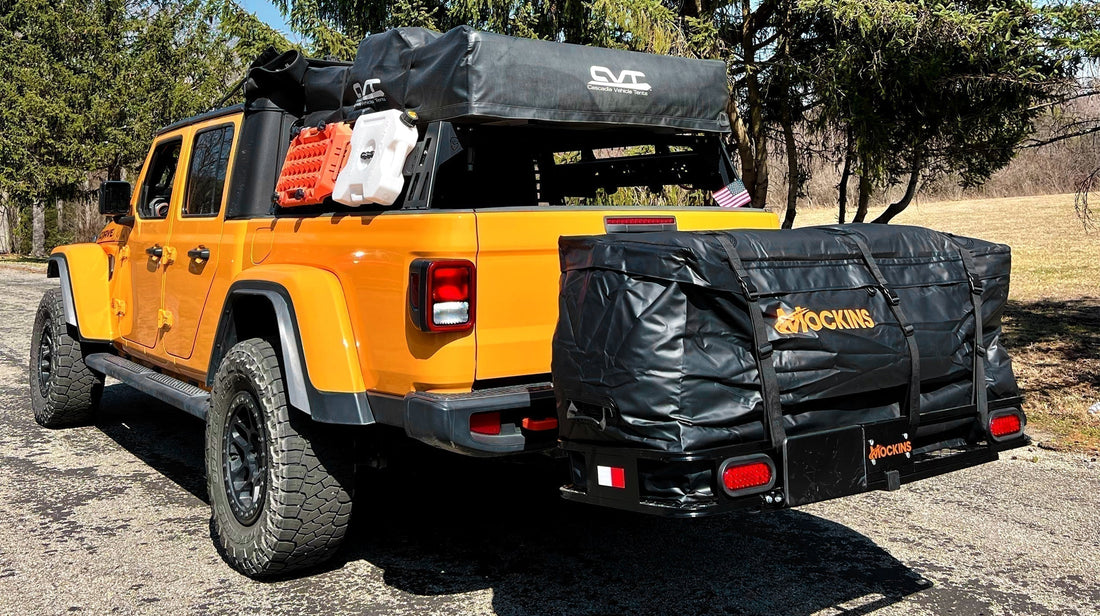
But What If You Really Need to Bring It All?
If you’re pushing the limits of a single hitch setup:
- Split the load: Use a roof bag for lighter items and the hitch for heavier gear
- Upgrade your hitch: If you’ve got a Class II hitch, a professional may be able to install a Class III
- Consider a bed extender: For pickups, this lets you spread weight across the truck bed and hitch support
- Check your suspension: If your vehicle is sagging when loaded, it’s not just sad—it’s dangerous
TLDR; Know Before You Tow
| What to Check | Why It Matters |
|---|---|
| Vehicle hitch rating | Sets your safe weight ceiling |
| Carrier weight limit | Can’t haul more than it’s built for |
| Total cargo + carrier | Must stay under tongue weight limit |
| Load placement | Impacts balance, sway, and road safety |
A little math and a few good tie-downs go a long way. Your gear will thank you—and so will the drivers behind you.
Mini Weight Calculator
Before you load up, do the math.
Still not sure which setup is right for your vehicle?
Browse the full Mockins collection or reach out to our team. We’ll help you load like a pro—without breaking a thing (including your bumper).