
Installing a rooftop cargo bag shouldn't feel like solving a puzzle you didn't sign up for. You're just trying to get your stuff from Point A to Point B without sacrificing legroom or your sanity. The good news? With a few simple steps and the right roof bag—like one of the massive waterproof roof cargo bags from Mockins—you’ll be packed and road-ready in no time.
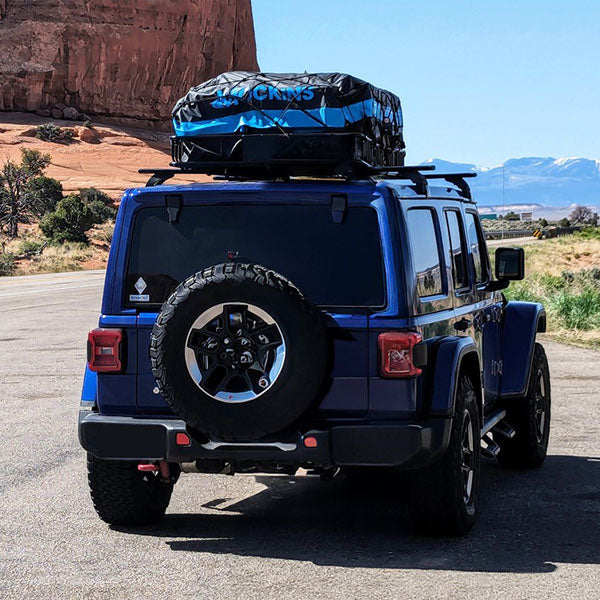
Whether you're working with the stylish 30 cu. ft. Navy Blue Roof Bag or going all in with the 50 cu. ft. model, this guide walks you through how to get it secured to your roof, rainproofed like a champ, and looking like you’ve done this before (even if you haven’t).
Step One: Start With a Clean Roof and a Clear Plan
Before you even open the bag, give your car roof a quick once-over. No debris, no sharp edges, no mystery gunk. A clean surface means a better grip and less wear on your bag and vehicle. If the set comes with a protective roof mat, don’t forget to put that down first to help keep everything stable and scratch-free.
Now decide: Are you mounting to crossbars, side rails, or neither? Mockins Rooftop Bags are designed to work with all setups, including naked roofs. (Yes, really.)
Step Two: Unfold the Bag (Yes, It’s Huge. That’s the Point.)
When you first unbox one of these rooftop beasts, it may feel like you’ve just adopted a vinyl octopus. Stay calm. Find a flat surface (like the roof of your car, for example), unzip the bag, and unfold it fully. Pro tip: Make sure the zipper is facing the back of the vehicle when installed. This reduces drag and helps keep rain out during highway driving.
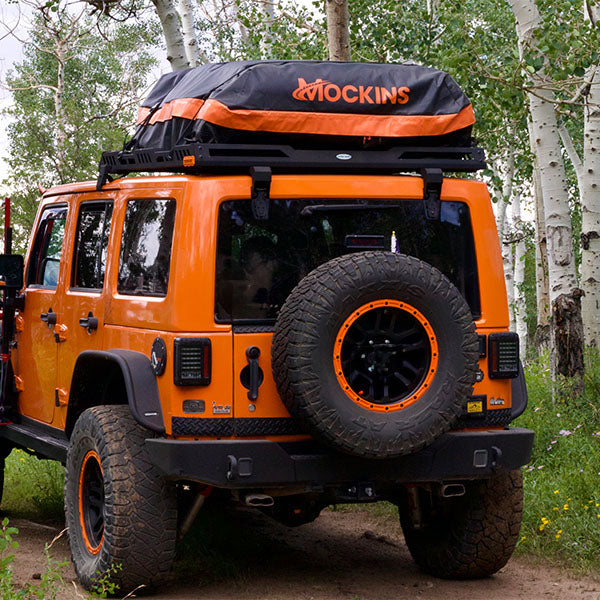
Every Mockins Rooftop Bag opens wide like a clamshell, which makes them all easy to load, even easier to overpack.
Step Three: Load It Like You Want to Find Things Later
Once the bag is in place, it’s time to pack it up. Keep heavy items low and toward the center. Lighter stuff like sleeping bags, jackets, or marshmallow reserves can go on top. Try to balance the weight as evenly as possible.
Don’t overfill it: if you’re forcing the zipper, it’s too much. These bags are flexible but not invincible.
Step Four: Choose the Right Straps for the Job
Mockins Rooftop Cargo Carrier Bags come with a variety of straps and hooks to fit almost any vehicle setup. Here’s a quick breakdown of what you might find in the box—and how to use each one:
-
Buckle straps – These are your go-to for most setups. Run them over the bag and secure them through your vehicle’s roof rack or crossbars. Can come in long and short varieties. Tighten until snug.
-
Ratchet straps – Ideal for heavy loads or highway speeds. These let you cinch things down with extra tension and keep the bag rock-solid. Just be careful not to overtighten—you don’t want to crush your cargo.
-
Door hook straps – No roof rack? No problem. These hook into your door frame and let you anchor the bag directly through the top of your vehicle. Place the hooks just above the door seal, close the doors, and tighten the straps.
- Trunk hooks (if included) – Some bags come with additional hooks designed for SUVs or hatchbacks. These can loop into the trunk seam or cargo area for extra support when there’s no rear rack available.
Mix and match these options depending on your setup. The goal is a secure, balanced hold—no shifting, flapping, or last-minute surprises on the interstate.
Step Five: Zip It, Strap It, Cinch It
This is where the Mockins roof cargo carrier design shines.
-
Zip the waterproof zipper all the way around
-
Roll the zipper flap down and secure it with the hook-and-loop fasteners.
-
Use your chosen straps (from Step Four) to secure the bag to your roof, making sure the bag is centered and the straps are evenly tightened.
Whether you’re using roof bars, roof baskets, cargo straps, door hooks, or a bit of everything, the key is to tighten slowly and evenly across all sides. Don’t forget: the bag should feel snug, not strangled.
Step Six: Double-Check Before You Hit the Highway
Once everything’s in place, give each strap a good tug. Shake the bag. If it doesn’t budge, you’re good to go. If it does? Tighten those straps.
You should also give the zipper a final once-over. Make sure the flap is completely covering it. This is key for waterproofing! The last thing you want is your clothes getting baptized by a surprise thunderstorm in the middle of Iowa.
*Bonus Tip: Use the Included Lock (Because You Love Your Gear)
Mockins includes a lock with all of our rooftop bags for a reason. If you’re making a pit stop, you’ll want the extra peace of mind knowing your cargo isn’t walking off while you grab snacks. Clip it through the zipper pulls and you’re good to go.
The Bottom Line
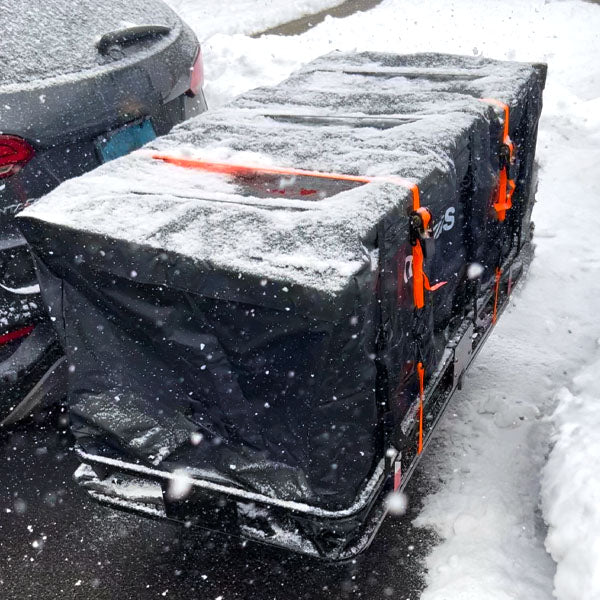
Installing a Mockins Rooftop Carrier Bag isn’t complicated. It’s about working smarter, not harder. With waterproof materials, reinforced seams, a smart strap system, and flexible options for any roof setup, these bags are built for real travel. Rain, wind, sun, snow, whatever Mother Nature throws your way, you’ll be ready.
Whether you're going camping, heading across the country, or just hauling stuff that won’t fit in the trunk, these rooftop cargo haulers give you all the space without eating up your back seat.
Need help choosing among our various carrier bag sizes? The Mockins team is always here to help you pick the right size for your trip.
Big adventure. Bigger cargo space. No guesswork.
TLDR; Your Rooftop Cargo Bag Questions, Answered!
Q: Will the Mockins rooftop cargo bag work without a roof rack?
Yes! Every Mockins Roof Bag comes with door hook straps that let you attach the bag securely to vehicles without crossbars or side rails. Just hook them into the door frame and close the doors over the straps. No drilling or no damage required.
Q: Is the bag really waterproof?
Yes. The Mockins Rooftop Cargo Bags are made from durable, weatherproof vinyl with welded seams, a waterproof zipper and a weather-resistant zipper flap. Just make sure the flap is rolled down and fully secured with the hook-and-loop (Velcro) fasteners to keep water out.
Q: Can I leave the bag on the roof when I’m not using it?
Technically yes, but we don’t recommend it. For best results (and longest life), remove the bag when it’s not in use, and store it in the included storage case. Exposure to the elements for long periods can wear down even the toughest gear.
Q: How fast can I drive with the bag on my roof?
Mockins recommends keeping speeds at or below 65 mph when using the cargo bag, especially if it’s fully loaded. Always double-check that your straps are tight before hitting the highway.
Q: Is it loud when driving?
Nope. When the bag is properly secured and zipped with the flap down, road noise is minimal. If you hear flapping, chances are a strap needs tightening or the flap isn’t fully sealed.