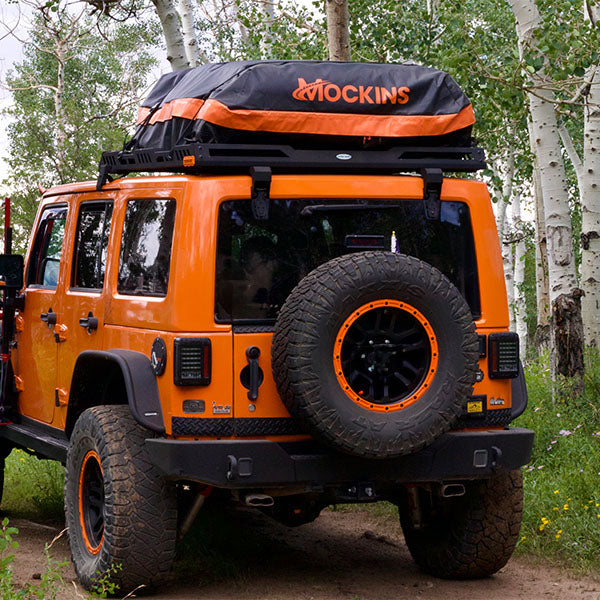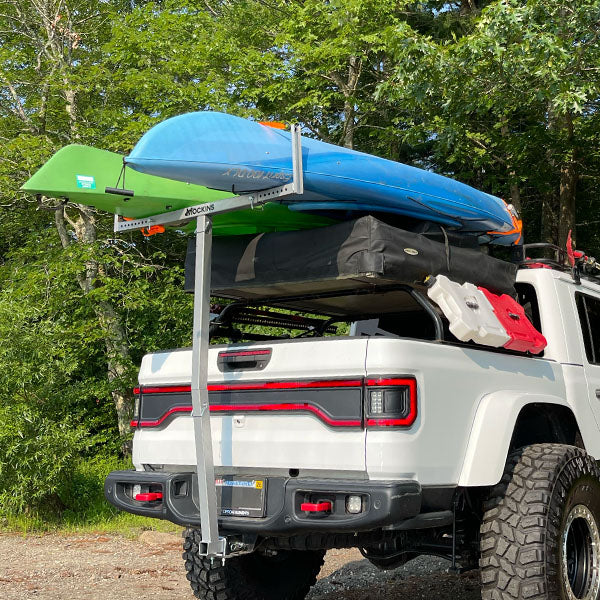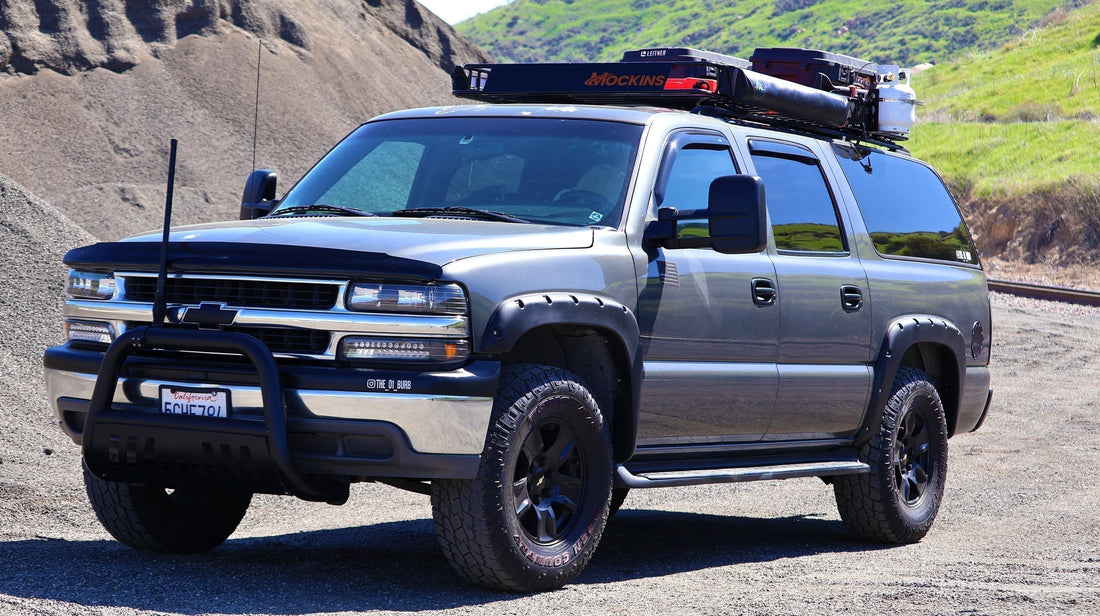
If your weekend adventures—or even your weekly grocery runs—leave you wishing for more cargo space, it’s time to consider a Mockins basket-style roof rack. These versatile rooftop carriers mount to your vehicle’s existing roof crossbars and give you the flexibility to haul everything from camping gear to extra luggage with ease. But let’s face it: the idea of assembling and installing a rooftop cargo carrier can sound complicated. Don’t worry. We’ve broken it down step by step so you can get the job done confidently—and get on the road faster.
Why Choose a Basket-Style Roof Rack?
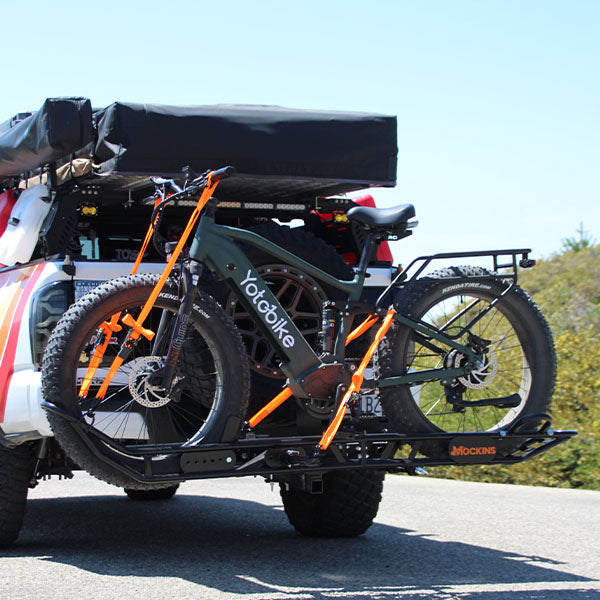
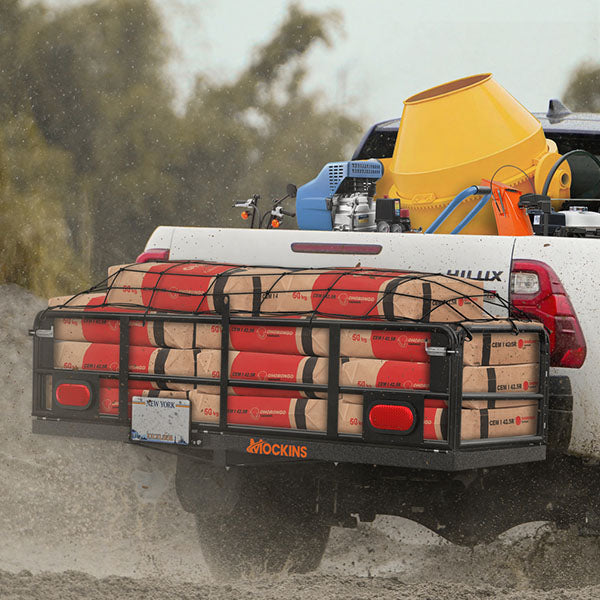
Basket-style roof racks are the workhorses of the cargo world. Unlike cargo boxes that have a closed design, roof baskets give you easy access to oddly shaped or oversized items like coolers, tents, or firewood. Their open framework makes loading and unloading a breeze. Plus, with the right tie-downs, you can secure everything from duffel bags to fishing poles.
Tools You’ll Need
Before you get started, gather these essentials:
- The roof rack storage kit (usually includes the basket sections, U-bolts, brackets, nuts, and washers)
- A wrench or socket set
- A measuring tape
- A ladder (for taller vehicles)
- A friend (optional but helpful for lifting and alignment)
Step-by-Step Installation Guide
Step 1: Unbox and Inspect
Lay out all the parts on a clean, flat surface. Typical kits include:
- Front, middle, and rear basket sections (sometimes only two sections)
- U-bolts and mounting brackets
- Nuts, washers, and bolts
- Assembly instructions
Before you start, make sure everything’s accounted for.
Step 2: Assemble the Basket
Connect the Sections
Align the roof basket sections and connect them using the included bolts and washers. Keep the bolts slightly loose so you can fine-tune the fit later.
Align and Tighten
Once the sections are connected, ensure the basket is straight and level, then tighten all bolts securely.
Step 3: Position the Basket on Your Vehicle
Lift the Basket Onto Your Roof Crossbars
Center it side-to-side and position it so it doesn’t interfere with your hatch or sunroof (if applicable).
Adjust for Clearance
Check that the basket is far enough forward to allow full trunk or hatch access—but not so far forward that it obstructs your windshield.
Step 4: Secure the Basket with U-Bolts
Wrap the U-Bolts Around the Crossbars
Slide the U-bolts up from underneath the crossbars so the ends poke through the pre-drilled holes in the basket’s base.
Attach the Mounting Brackets
Slide the brackets over the U-bolt ends and secure them with the included washers and nuts.
Tighten Evenly
Use a wrench or socket to tighten the nuts evenly on each U-bolt. Avoid over-tightening—you want a snug fit, but cranking them too hard can damage your crossbars or the basket itself.
Step 5: Load and Secure Your Cargo
With the basket securely mounted:
- Load your gear, distributing the weight evenly.
- Use tie-down straps or bungee cords to secure everything snugly (especially for soft-sided or lightweight items).
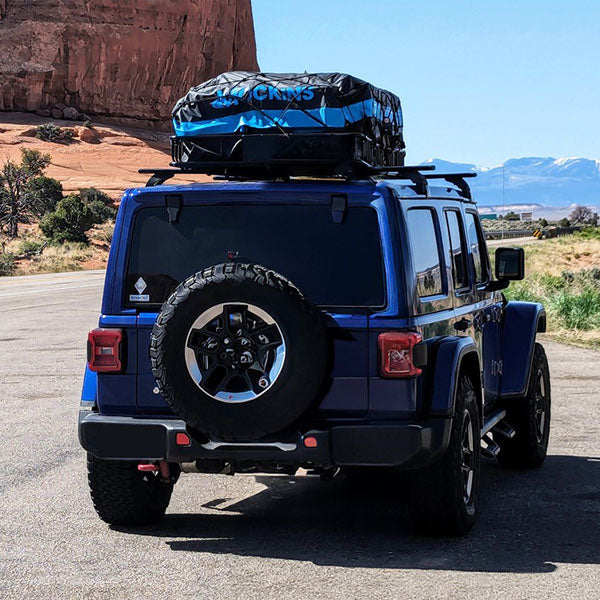
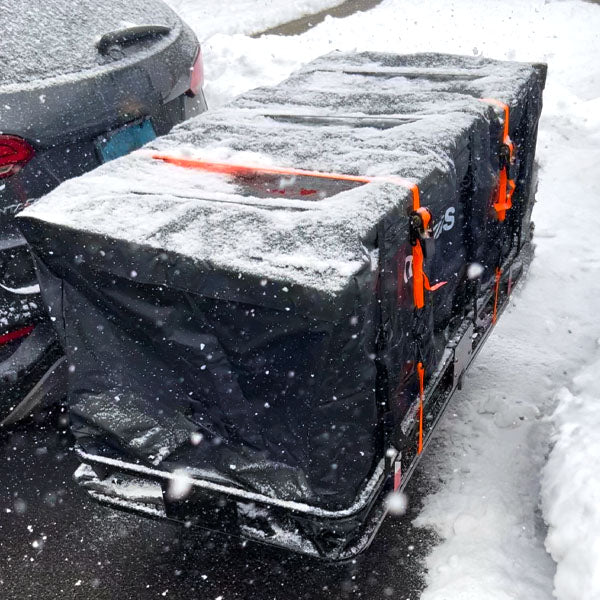
- If your kit includes a waterproof roof cargo bag, unfold it inside the basket, fill it up, zip it shut, and tighten the integrated straps for extra security.
Final Check: Safety First
✅ Give the rack a gentle shake—it should be rock-solid, with no wobbles or rattles.
✅ Inspect all U-bolts and brackets to ensure they’re tight.
✅ Check that your cargo is properly secured and not blocking your rearview or hatch operation.
Pro Tips
🔧 Don’t overload it—always respect the manufacturer’s weight limit (usually around 150–250 lbs., including the rack itself).
🚗 Mind your height—your vehicle is now taller, so be cautious in parking garages and under low overhangs.
🛑 Periodic Checks—recheck tightness on long trips or after driving on rough roads.
Hit the Road with Confidence
Installing a Mockins basket-style car roof rack might seem intimidating at first, but with a little preparation and patience, you’ll be ready to haul your gear safely and securely. Now, get out there and make the most of your next adventure!
Still have questions? Reach out to our support team for additional tips and product-specific guidance.